In this tutorial we will show you how to set up PPTP VPN on Windows 10 but first let’s see what are our requirements and recommendations.
Requirements
In order to set up the PPTP VPN you will need:
- A RayaVPN account. If you don’t have one you can try our services now.
- Your VPN username, password and VPN server address. You can find them in your account on our website, by going to your package.
If you want to set up PPTP VPN manually, go step-by-step through following instructions:
PPTP VPN Setup instructions
- From the lower right corner click on “Action Center” icon (1). Then press on “VPN” (2).

- This will open “Network & Internet” settings window. Click on “Add a VPN connection” (3).

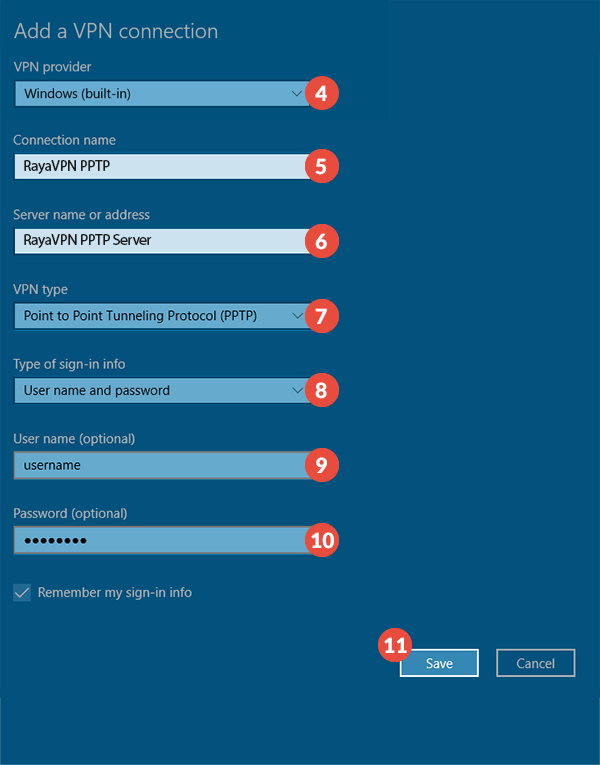
- On the next page fill the fields with the following settings:VPN provider – Windows (built-in) (4).“Connection name” (5) – Give a memorable name to this connection. For example name it RayaVPN PPTP.“Server name or address” (6) – type server name or address you want to connect. You can find the whole list in your account, under the “Package details”.“VPN type” (7) – select Point to Point tunneling Protocol (PPTP).“Type of sign-in info” (8) – select User name and password.
In the “User name” (9) and “Password” (10) fields type your VPN username and password. You can find them in your account on our website, by going to your package. Make sure you use your VPN username and password and NOT the website account credentials.
Check all selected data once again and press “Save” (11).

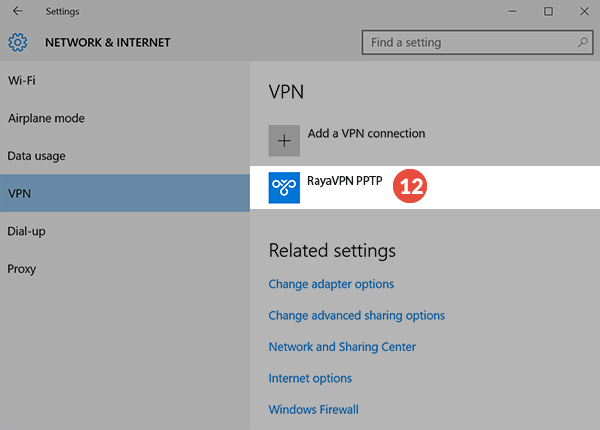
- Now you can see your VPN connection (12) was created.

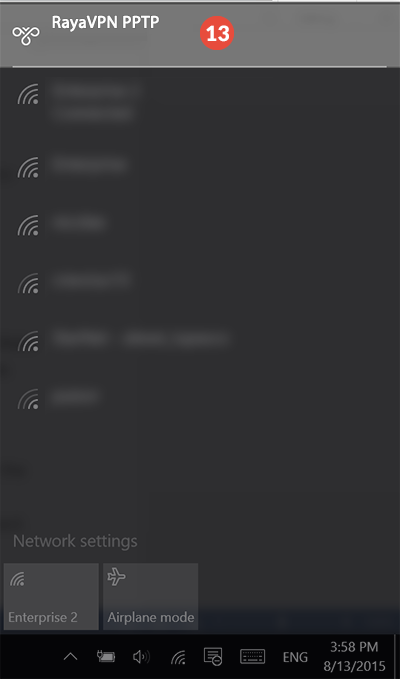
- When you want to connect to this VPN server go to Network button and click on the VPN connection (13).

- This will open VPN connection list. Select desired VPN server and click on “Connect” (14).

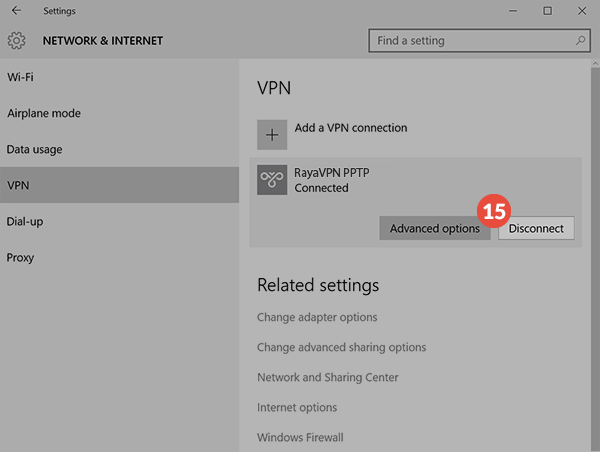
- After a few seconds a connection will be created. To disconnect just press the “Disconnect” button (15).


